So I have been doing pretty good at
A Bowl Full of Lemon's 21 day challenge so I couldnt let myself cheat and only post about my under kitchen sink re-do for today's challenge. And I really needed to tackle under the bathroom sink.
ETA: Then Toni went and actually made day 14 under the bathroom sink day. So I am cheating now... Im working on a bigger extra credit project though, so Im not slacking off!
This BEFORE is why:

im not too embarrased by these pics, I never really attempted organization in here, just unpacked when we moved in and added a few things since then.
as I pulled everything out, I sorted.  I have bunches and bunches of these black plastic baskets, but theyre either up in the attic (hubby doesnt like me going up there when he isnt home) or out in the storage shop (I dont have a key). So until I find more, I used the one I had repetedly. I used the empty basket to measure the space, to be sure of how they would fit. Then I put all the Flooring and Upholstery supplies in it, then I removed it all from the basket, for now, and stacked it neatly in the corner. Next, I put all the Toilet and Tub & Tile stuff in it, and then stacked it all neatly where the basket will eventually go, next to the first imaginary basket.
Last, I put all the Misc stuff in the basket.
I thought it would be nice to contain items even better in the misc basket. So I thought about the bins and containers that Toni made us collect before the challenge started....
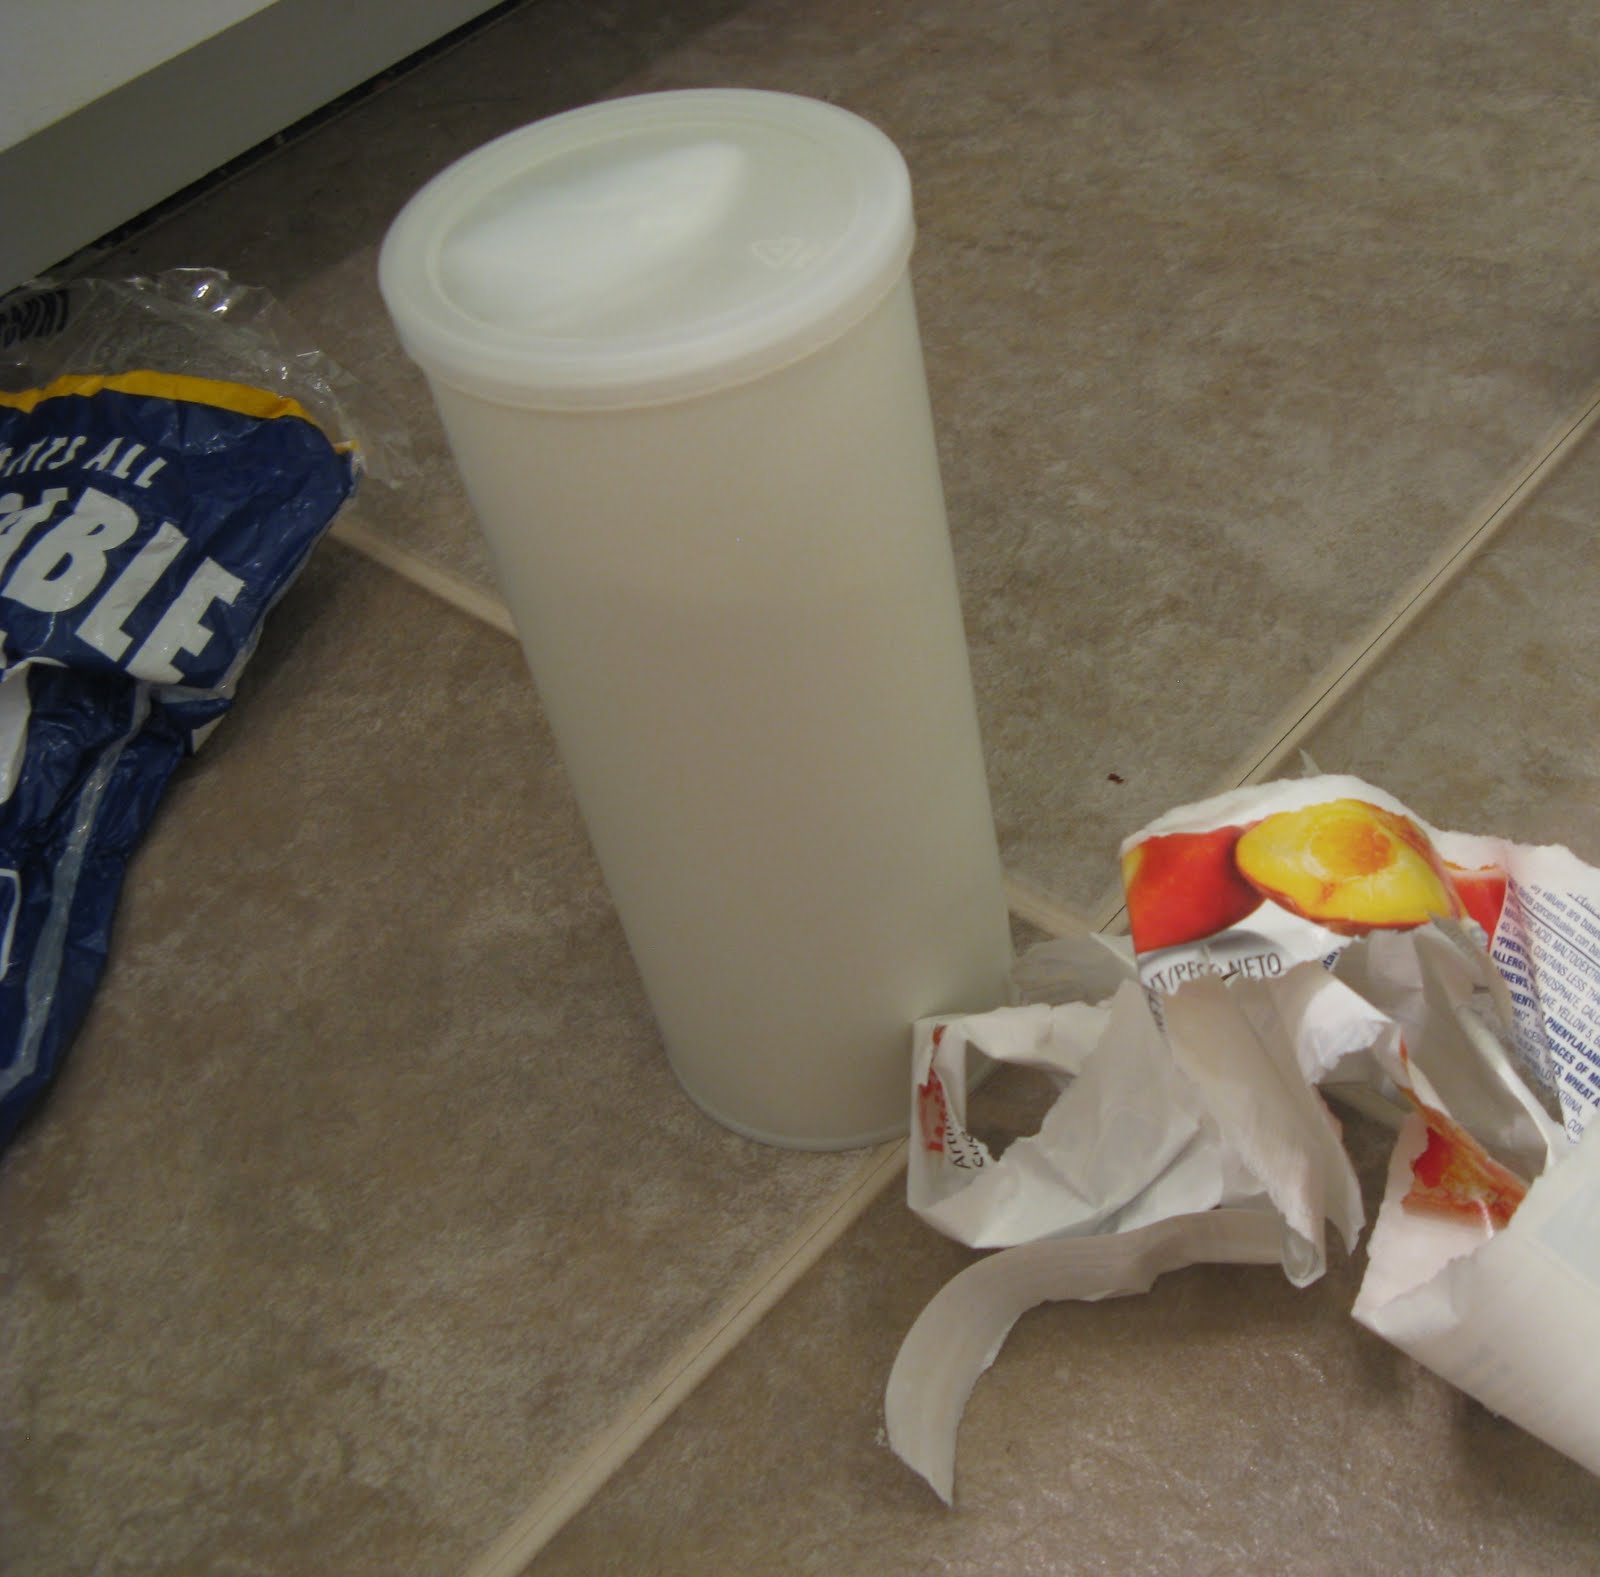
I wondered, will those plastic gloves fit in the saved-from-recycling drink powder tube?

Why yes, yes they will!
...but how easy will it be to get the old label off?

Super easy!
And hey, thats about the same size as that roll of garbage bags....

Tada! (I did have to take a few bags off, from the outside of the roll, to make it fit, I put them under the current bag in my trash can, so when we take the garbage out, we can just grab a bag from inside.) I dont normally buy garbage bags for the bathroom can, I usually re-use plastic shopping bags, but these were purchased on accident awhile back.
Next, I containerized my BBW hand soaps, oh how I love those sales! 
Looking at the pile of stuff that was either going to be relocated, or give away, I was proud:  There was actually a little more than this, a few more things. The Swiffer box is full of air frensheners that my hubby is sensitive to but my sister will love. I LOVED the scrubbing bubbles stamper thingy in my old apartment, but with the iron bacteria in our water, a film of gunk coats the gel, making it not work. oh well, MIL got a free sample of IRON OUT's automatic toilet bowl thingy, we will see if that works!
This was the part of the project I was excited about. (yes, I am cool)
LABELS!!!
I got familiar with Avery.com for making labels when I did our Christmas cards this year, and knew I would be using it again for organization purposes. I wrote a tuturial on how to make lables using their site,
click here.
Before I started, I looked in the cabinet, mostly put back together and took some notes about what labels to make, so I wouldnt have to go back and forth.
The shipping labels are great because I just peeled them off and stuck them on!

I didnt think they would stick well to the plastic baskets though, so I got an idea:

Then a hole punch, ziptie and snip:

I ended up remembering where another black basket was, so now, I just need 1 more under here, for the Flooring and Upholstery stuff. (and one to replace the one I relocated)
Ready for some AFTERS?  Under the sink, I had some of those wire shelf things, to add a bit more storage, I lifted the Misc basket up. It sits in front of the plumbing, so I wasnt concerned with the basket being to tall to get behind it. Ohh did I magically got more TP since the before pic? (actually I took it from the bathroom in the shop) I prefer the clean uncluttered look of the plain white paper rather than the logos on the packaging, so I take the rolls out of the package when I restock. Jenny Free Style had a similar idea when she redid her bathroom linen closet. I will borrow her before & after, since I dont have a before pic with the tp package, looks much nicer with the solid white rolls, huh? Also, the rolls can fit better out of the package in some spaces than a big package can.

makes it easier to get a new roll out also if you dont have to rip open a package while youre on the throne. There is plenty of room for more tp, after I go shopping. Oh and, because I gotta show Command hooks some love:
 the orange dusting mitt didnt have a hangy thingy, so I just grabbed a safety pin and gave it one.
There you have it, all organized and some purging done, I almost felt like cleaning my bathroom. Almost.
Im Linking to Day 5 Under the Sink 21 Day Organizing Challenge at A Bowl Full of Lemons.


 I hung the baby bath tub behind the door, where it is usually, the mesh insert has a little loop and it had been peed on, and wasnt back together after being cleaned. We dont actually use the tub for bathing, because she prefers to shower with us, but we lay her in it while we wash up, then reach out of the shower to get her, then put her back in it after we wash her up, she is usually quite content to lay in it all bundled in a towel while I dry off and stuff.
 the plastic container box on the counter is for all the extra toothpastes and toothbrushes, i put a lable on it finally and put it in the
  yes that is a toilet seat on my kitchen counter, that counter just attracts stuff like crazy! (its a new one, that has a toddler insert, better than an removable ring thingy) not even a year ago there was a toilet on that counter!
 (during construction, 8/12/2010)
 You already saw my daily vitamin organization when I touched up my